
Use Driver to understand a Jira ticket with evidence from your code and connected sources. Jira must be connected, and the investigation agent needs access to the project and relevant codebases.
Start with a ticket ID or URL
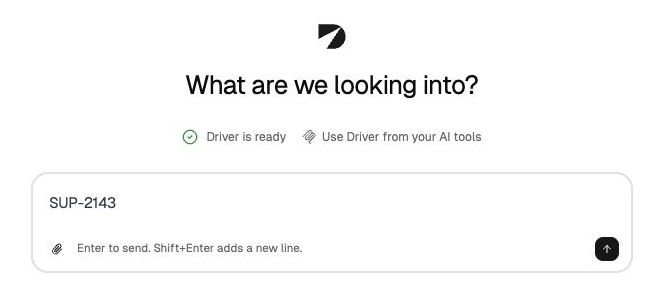
Paste a Jira ticket ID to start from its existing context. View full size.
Or paste the Jira ticket URL and describe what you want checked. For example:
Driver investigates using the ticket context and relevant sources, identifies critical information it cannot access, and asks you for what it needs to continue. You can add the environment, version, reproduction steps, or time window when available to help Driver narrow down the cause.
From the CLI, use driver investigate start "Investigate https://example.atlassian.net/browse/SUP-2143", replacing the example with your ticket’s URL. A local AI tool that can run the CLI can use that workflow too. With the early-access Driver Investigations MCP App, ask Claude Cowork or ChatGPT Work to investigate the ticket URL and review the findings and evidence in the App.
Continue an automated investigation
When Automatic triage is enabled for the Jira project, Driver investigates new tickets and posts its findings on the ticket.
- Read Driver’s automated report on the Jira ticket.
- Select Continue investigation in Driver.
- Review the shared starting report and its evidence.
- Send a question or new information. Driver starts your private investigation from that starting point.
- Continue checking the explanation or request a draft for the audience who needs the result.
Each person can continue independently. Private conversations do not update the common starting report. Copy findings that teammates need into Jira through your normal ticket workflow.
Use the findings
Check the cited version and code path before treating a likely cause as confirmed. Use the report to prepare a reviewed reply, internal note, or engineering handoff. Review drafts explains how to copy the result into its destination.